Introduction
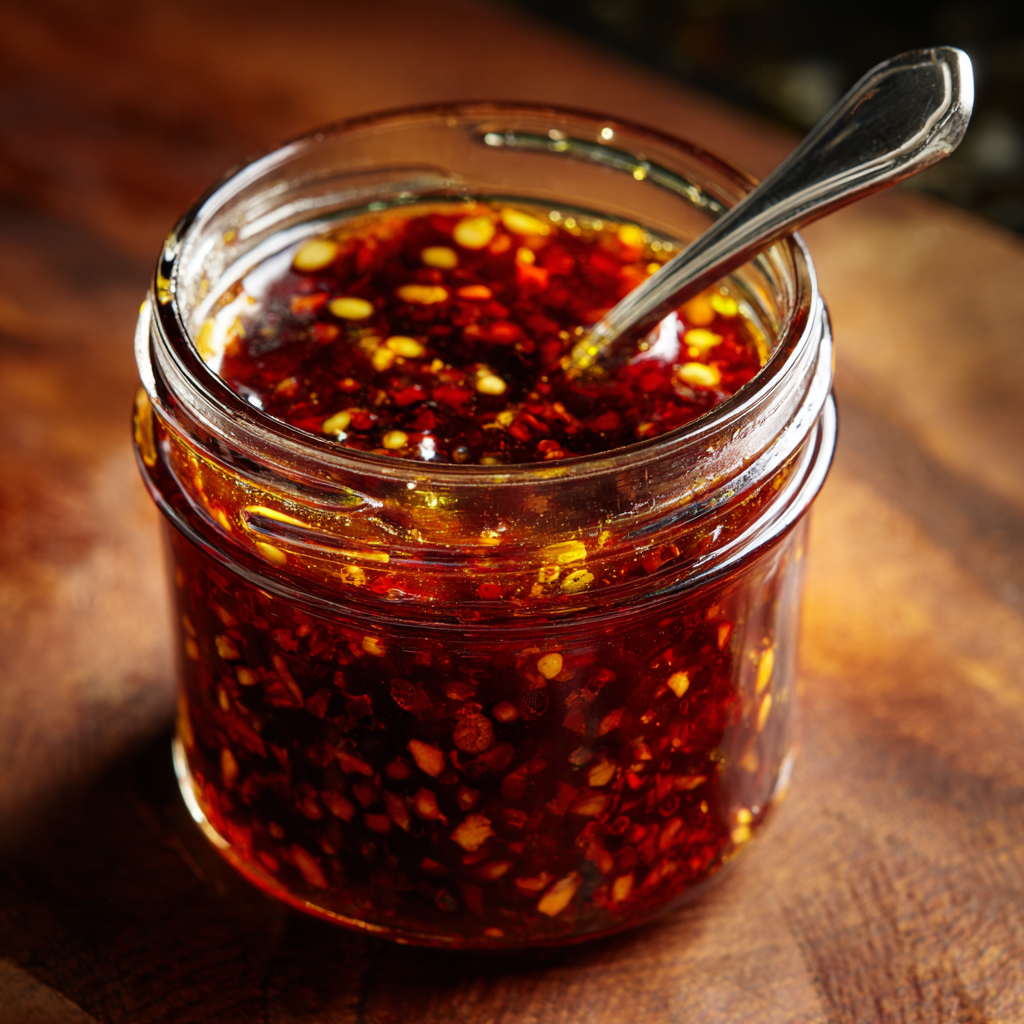
What makes chili oil one of the most addictive condiments in the world? Flavor science shows that capsaicin (heat) + hot fat (oil) unlocks deep aromatics, enhancing taste receptors and making flavors feel richer, warmer, and more satisfying. This Homemade Chili Garlic Oil captures that essence perfectly — deep red, glossy, fragrant, spicy, and loaded with crispy chili flakes and real garlic.
This chili oil:
- Adds heat and richness to any dish
- Takes just 10–15 minutes to make
- Stores beautifully
- Requires only simple pantry ingredients
- Elevates noodles, soups, eggs, pizza, rice bowls, dumplings & more
Whether photographed in a dim kitchen late at night, grainy and real, this chili oil still looks irresistible — because the flavor speaks for itself.
Ingredients List
For the Chili Oil Base
- 1 cup neutral oil (canola, vegetable, peanut, or light olive oil)
- 1/4 cup crushed red pepper flakes (adjust heat to taste)
- 2 tablespoons minced garlic (fresh or jarred)
- 1 tablespoon sesame seeds (optional but recommended)
- 1 teaspoon smoked paprika (for deeper color)
- 1 teaspoon chili powder (optional for extra heat)
Flavor Add-Ins (Optional but Highly Recommended)
- 1 small cinnamon stick
- 1 star anise
- 1 bay leaf
- 1 small piece dried orange peel or a few strips fresh orange zest
- 1 teaspoon soy sauce (for umami depth)
- Pinch of salt, to taste
Optional aromatics add restaurant-level complexity — but the oil is still delicious without them.
Timing
| Step | Time | Notes |
|---|---|---|
| Prep | 2 minutes | Quick & simple |
| Heating the Oil | 6–8 minutes | Infuses flavor |
| Pouring over spices | 1 minute | Creates sizzle + bloom |
| Cooling | 5 minutes | Thickens, deepens color |
| Total Time | ~12–15 minutes | Very fast |
Step-by-Step Instructions
Step 1 — Prepare the Chili Mixture
In a heat-safe bowl or jar, add:
- red pepper flakes
- sesame seeds
- chili powder
- smoked paprika
If using flavor add-ins, place them in the bowl as well.
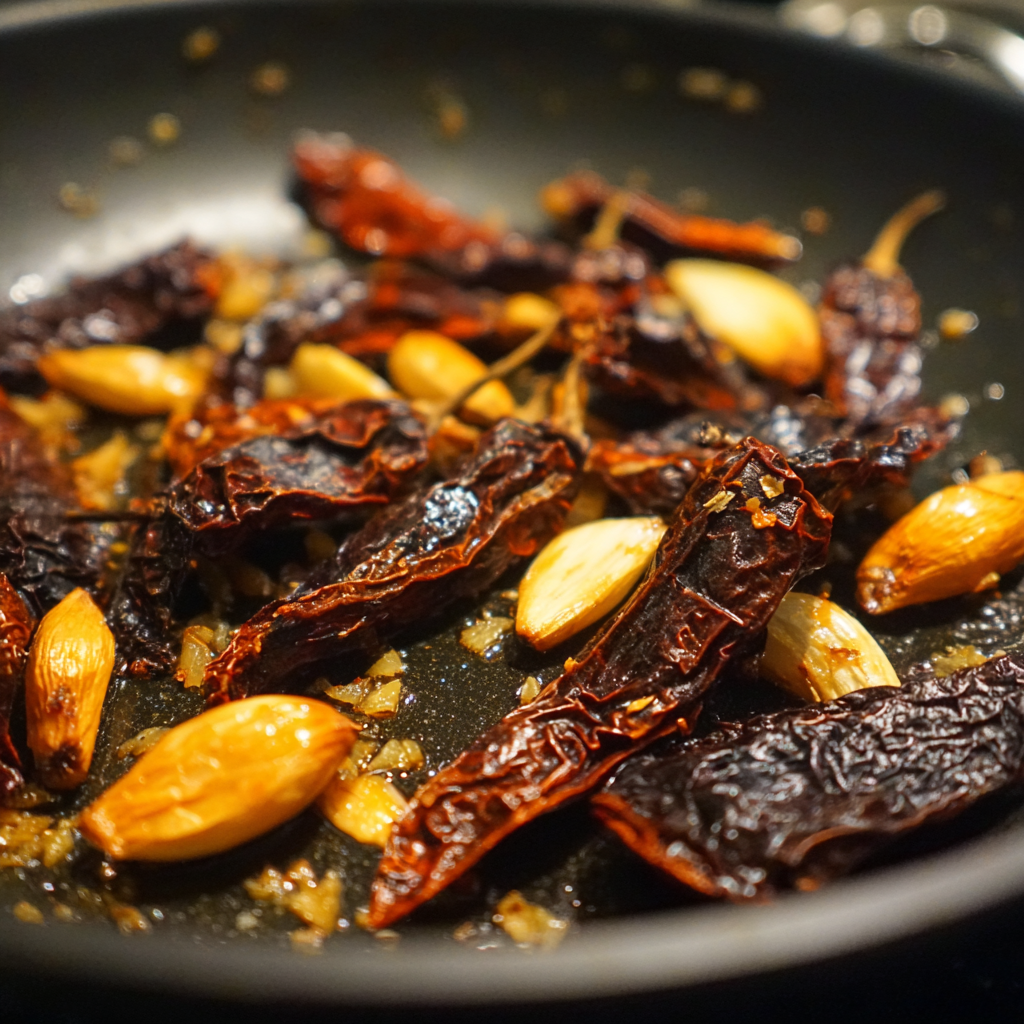
Step 2 — Heat the Oil
Add neutral oil to a small pot over medium-low heat.
Stir in:
- minced garlic
Let garlic gently simmer until it becomes lightly golden — about 2–3 minutes.
Do not brown or burn the garlic — burned garlic = bitter oil.
Step 3 — Infuse Aromatics
If using cinnamon, star anise, bay leaf, or orange peel:
- Add them directly to the oil
- Let them steep for 2 more minutes
The oil should be warm, fragrant, and shimmering — not smoking.
Step 4 — Pour Carefully
Remove oil from heat.
Slowly pour hot oil over the chili mixture in the jar.
It will bubble and sizzle — this is the flavor blooming moment.
Stir gently to combine.
Step 5 — Add Final Seasoning
Add:
- soy sauce (optional)
- pinch of salt
Stir again, and let sit 5 minutes to develop color and flavor.
Nutritional Information (per tablespoon)
| Nutrient | Amount |
|---|---|
| Calories | ~95 kcal |
| Fat | 10 g |
| Carbohydrates | <1 g |
| Protein | 0 g |
| Sodium | Varies with added salt/soy |
Healthier Alternatives
| Goal | Swap | Result |
|---|---|---|
| Lower Sodium | Skip soy sauce | Cleaner chili flavor |
| Lower Heat | Use half the chili flakes | Milder, smoother flavor |
| Extra Nutrition | Add flax or hemp seeds | Adds healthy fats and texture |
Serving Suggestions
Use as a finishing oil on:
- Ramen, udon, pho, miso soups
- Fried eggs or scrambled eggs
- Dumplings, potstickers, wontons
- Rice bowls & stir-fries
- Pizza, avocado toast, roasted veggies
- Grilled chicken, tofu, or seafood
Pro tip: Swirl into mayo or sour cream to make a creamy spicy dip.
Common Mistakes to Avoid
| Mistake | Result | Fix |
|---|---|---|
| Oil too hot (smoking) | Burnt flavor | Keep heat low-medium |
| Garlic browned too much | Bitter taste | Remove from heat earlier |
| Using extra virgin olive oil | Strong flavor overwhelms | Use a neutral oil |
| Adding soy sauce to hot oil | Splattering | Stir it in after pouring |
Storing Tips
- Store in a sealed jar at room temperature for up to 1–2 months
- If adding fresh garlic that isn’t fully fried/dried → refrigerate
- Flavor deepens after 24 hours
- Shake or stir before serving to redistribute spices
Conclusion
This Homemade Chili Garlic Oil is bold, aromatic, spicy, and deeply flavorful — the type of kitchen staple you end up using on everything. It’s quick to make, stunning in color, and infinitely customizable.
Make one jar and watch it become your most-used condiment.
Try it today, then come back and leave a review — and don’t forget to subscribe for more cozy home kitchen recipes. 🌶️✨
FAQs
Q1: Can I make this very spicy?
Yes — simply increase chili flakes or add dried Thai chilies.
Q2: Can I use fresh herbs?
Avoid fresh herbs in oil — they spoil faster. Use dried herbs instead.
Q3: Does the jar need to be sterilized?
Not required, but a clean dry jar will improve shelf life.
Q4: Can I blend the oil after it cools?
Yes — blending makes a textured chili crisp style oil.
Leave a Reply