Introduction
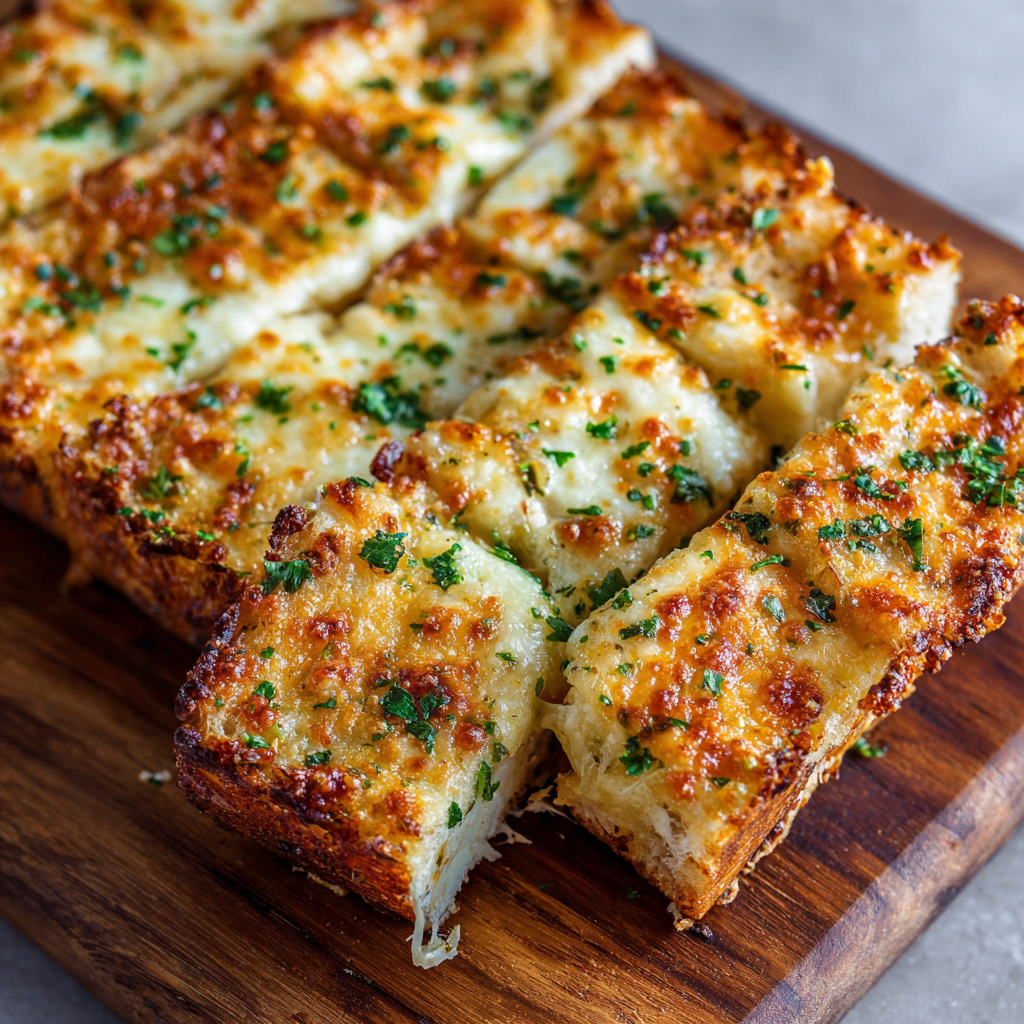
If there’s one side dish that steals the show every time, it’s the Best Cheesy Garlic Bread — crispy on the outside, soft inside, and loaded with gooey cheese and fragrant garlic butter. 🧄✨ Whether you’re serving it with pasta, soup, or enjoying it as a snack, this golden, cheesy delight will make everyone at the table reach for seconds.
It’s quick, easy, and utterly irresistible — the perfect comfort food for carb and cheese lovers alike.
(Focus Keyword: Best Cheesy Garlic Bread)
Ingredients List
For the Garlic Butter Spread:
- ½ cup (1 stick) unsalted butter, softened
- 4 cloves garlic, minced (or roasted for a sweeter flavor)
- 2 tablespoons fresh parsley, finely chopped
- 1 teaspoon Italian seasoning
- ¼ teaspoon salt
- ¼ teaspoon black pepper
For the Bread:
- 1 large French baguette or Italian loaf, sliced horizontally
- 1 ½ cups shredded mozzarella cheese
- ½ cup grated Parmesan cheese
- ½ teaspoon red pepper flakes (optional, for a little heat)
(NLP Keywords: homemade garlic bread, cheesy baguette, garlic butter toast, oven-baked garlic bread)
Timing
- Prep Time: 10 minutes
- Bake Time: 12 minutes
- Total Time: 22 minutes
Step-by-Step Instructions
Step 1: Preheat the Oven
Preheat your oven to 400°F (200°C). Line a baking sheet with foil or parchment paper.
Step 2: Make the Garlic Butter
In a bowl, mix softened butter, minced garlic, parsley, Italian seasoning, salt, and pepper until smooth and spreadable.
Step 3: Prepare the Bread
Slice your baguette or loaf in half horizontally. Place both halves cut side up on the baking sheet. Spread the garlic butter evenly across the surface of each half.
Step 4: Add the Cheese
Sprinkle mozzarella evenly over the bread, then top with Parmesan. Add red pepper flakes for a spicy kick if desired.
Step 5: Bake to Perfection
Bake for 10–12 minutes until the cheese is melted and bubbly. For extra crispiness, broil for 1–2 minutes at the end — just until golden brown.
Step 6: Slice & Serve
Let cool slightly, then cut into thick slices. Serve warm and watch it disappear!
Nutritional Information (Per Serving)
- Calories: 310 kcal
- Protein: 10g
- Carbohydrates: 22g
- Fat: 20g
- Calcium: 25% DV
Healthier Alternatives
- Use whole-grain bread for more fiber.
- Substitute vegan butter and plant-based cheese for a dairy-free option.
- Reduce cheese by half and sprinkle nutritional yeast for a lighter version.
- Add roasted garlic paste for deep flavor without extra butter.
Serving Suggestions
- Pair with pasta dishes like spaghetti, lasagna, or fettuccine Alfredo.
- Serve with tomato soup or creamy chowders for dipping.
- Enjoy as a party appetizer or game-night snack with marinara sauce.
- Sprinkle with fresh basil or oregano for an herby finish.
Common Mistakes to Avoid
- Using cold butter: It won’t spread evenly — always soften first.
- Overbaking: Keep an eye during broiling to avoid burning.
- Skipping Parmesan: It adds that perfect salty flavor balance.
- Using too much garlic: A little goes a long way — balance is key.
Storing Tips
- Refrigerate: Wrap leftovers in foil and store for up to 3 days.
- Reheat: Bake at 350°F (175°C) for 8 minutes or air-fry until warm and crisp.
- Freeze: Freeze slices on a tray, then store in a freezer bag for up to 2 months.
Conclusion
Golden, crispy, cheesy, and loaded with garlic goodness — this Best Cheesy Garlic Bread is the side dish that turns any meal into a feast. 🧀🥖 Whether you’re feeding a crowd or treating yourself, it’s the ultimate comfort food that never disappoints.
Try it once, and it’ll become your forever favorite!
FAQs
1. Can I use pre-shredded cheese?
You can, but freshly shredded melts smoother and tastes richer.
2. Can I make it ahead of time?
Yes — assemble, wrap in foil, and refrigerate for up to 24 hours before baking.
3. Can I use a different cheese?
Absolutely! Try cheddar, provolone, or Monterey Jack for variety.
4. Can I make it on the grill?
Yes! Wrap it in foil and grill for 8–10 minutes for a smoky flavor.
Leave a Reply